Showing posts with label quilting. Show all posts

Thursday, February 4, 2021

One Monthly Goal February Goal

  We have reached February already and it's time to set a new goal for the month.  I thought I have this one covered, a couple of quilts will need their binding added. The thing is I haven't yet picked them up for my long arm quilter Valerie. So how do I do a goal setting post without any pictures on hand of the quilts. I know one there is no picutre but the motorbike one I swear I took a couple of pictures. Checked my computer- no luck, checked Blogger I must have posted an in progress picture during the making- no picture either. New phone so no point checking there.  Not on my tablet either. So i wait until I pick them up and realise there is actually 3 quilts that will need binding. I am only putting two down for this month's goal. Here they are my motorbike panel quilt.

As always they are beautifully quilted this one has cogs all over it.


The second one is my Freespirit Sunflower Quilt.
This one was a fun quilt to make. I love how it looks seamless from left to right with the blocks sitting in the middle. It's like they are sitting on top.


Now to pick binding for both projects.

I have shared my post with Elm Street Quilts goal setting post, so pop over and check out what everyone is working on this month.

Until Next Time

Keep Stitching

Cynthia


Saturday, December 22, 2018

New Aurifil Club at Cynthia's Ark

We have a new club starting very soon featuring Aurifil threads. It has been a while since we had a thread club.This will be an ongoing club, you will become a member which will get you a discount on your Aurifil threads when you need to stock up.


The first month you will receive your first spool of white with your case which holds 12 large spools of Aurifil threads at the special price of $20 plus postage if you need it. After the first month you can select the colours you want in your collection from our stock at 20% off our normal retail price. Now if there is a colour you want that is not in stock please let me know and I can add it to the next order. You can also choose between the 50 and 40 weights. This club is ideal for customers to pop in and select what they want from our new Aurifil stand, but if you are not able to do that you can still become a member and I am happy to ship your thread to you. What I will do, is with your first month I will include a list of colours in stock for you to choose from and then you just need to let me know your selection.  Plus with this club you don't have to limit yourself to just 1 spool of thread per month. You can if you want, let's say you have run out of your favourite piecing neutral but you want a special colour to quilt a quilt you can order both and as a Cynthia's Ark Aurifil Club Member you will receive 20% off both.

We are just waiting on the stock to arrive which shouldn't be too far away now. So I am now taking pre orders for this club. We have limited spots for this club and it is filling fast. You can visit my website, ring me or pop in to Cynthia's Ark to secure your spot in our exclusive Aurifil Thread Club. Plus the will be a few surprises along the way, exclusive to club members only. 
 Please note Paypal is not available for our clubs due to fees and people abusing the system. If you don't have a credit card and need to use Paypal there will be a small surcharge added. This is much to my disappointment that I have to do this. Please contact me if you have any questions.

Any questions let me know.

Until Next Time
Keep Stitching
Cynthia


Monday, March 21, 2016

Quilting my Spiral Shells and Tea Party Table Topper

It is time for some quilting. I have been hanging off in hope I would get my Pfaff back but it hasn't happened. So it is time for some quilting on my little Janome which I like to piece on.
I pinned the 2 projects so I was ready and once I started I could just quilt.
The Tea Party Table topper was priority as it has a deadline. It is my workshop sample for the A Quilters Odyssey retreat in June. So I need to get it done and photos across to Sue and Kate for next month newsletter. The original plan was to use one of the Westalee rulers to create a lovely quilted design but without my Pfaff I can't do it as the foot doesn't fit the Janome. So I just did some straight line quilting instead and I was very happy with the results. It has giving me a couple of ideas for quilting the dresden plate quilt I am working on which is nearly to sashing the blocks together. I may quilt to myself. The binding was added and it was done.
A better view of my quilting.

It will be available in kit form in two colour ways on my webshop soon if you are interested.
After lunch I got stuck into the Spiral Shell reversible quilt which started my Straight Curve Experiment. I decide some free motion stippling for this one. It have been a while since I have done some. Off I went, stopped briefly to checked the stitching tension and continued once I was happy. I got two third through the quilt and I stopped for a break and I noticed a couple dodgy stitches and once I looked on the back I could of cried. My tension was gone. All the stitches were loose expected for the corner where I started from. Not happy I started unpicking it all under some cat supervision. That is Ponchee. She loves to road test my creations.

It wasn't hard to do as the bobbin thread was loose. It was that fact there was a lot to do. In the end I unpicked all the quilting and started from scratch and totally changed my mind on how I was going to quilt it. Some free motion straight line quilting that weren't totally straight or evenly spaced. I did enjoy this type of quilting as I wasn't worrying that I wobble a little and I did have to mark the quilt to keep the spacing even. I can see me doing free form straight lines again.


Now for the binding to finish it off. They look pretty straight and even to me.
Until Next Time
Keep Stitching
Cynthia

Sunday, December 27, 2015

Project Uninterrupted


Project Uninterrupted starts on the 2nd January 2016 in store. On the first Saturday of the month except for April we are going to meet to work on a sewing project of your own choice. We never have enough time to work uninterrupted on our projects so I  have set a date and time to help you reach the final goal of completing some of your projects in 2016.
Project Uninterrupted is our Stitch and Chat sessions and will be on the first Saturday of each month except for April between 10am - 2pm.
There is no teacher so you need to know roughly what you are doing but I am sure between the group we will be able to help each other out if anyone gets stuck or need some input into a project.
The cost is $10 per session with tea, coffee and water included. You just need to bring your own lunch. We do have a take away shop next door if you need to purchase your lunch or what something else to drink.
Booking are essential as there is limited places for these sessions.  So phone me on 08 8527 2120 to book. Book early to guarantee your place.
Project Uninterrupted will be held at 7 Wasleys Rd Mallala South Australia 5502.

I have been working on this for a little while and thinking how we can involve our online followers who live too far away to attend these workshops and future workshops. So I was thinking of starting a Project Uninterrupted Facebook Group so our online customers and supporters can join in and share their current projects no matter where in the world they live and we can encourage each other in finishing projects, starting new ones, learning new things and so much more. What do you think? Are you interested in being part of a group like this? Share your thoughts and any ideas you have with me on this now so we can set the group up to suit our needs. What would you like to see in a group?
Until Next Time
Keep Stitching
Cynthia


Sunday, October 4, 2015

350 Block Project- September's Report


This month's total is 30 blocks.

I have been working on the Fully Stacked projects. 18 blocks for Floral Extravaganza. Plus 6 for the rows being joined. Total of 24.

Project 1 Butterfly Courtyard had 2 borders add to the finished blocks, plus 8.

Still working on Ohio Star blocks. 6 more done. I need to move along on this one the deadline is the end of the month.
Also working on these blocks Hope Chest blocks for a quilt. 12 blocks.
Plus 1 Batik Rainbow Sampler block.
Sorry I have been a little lazy with the picture taking.
Lastly I have been piecing this star for a wall hanging 6 for this one.

This month's total is 57. There is still plenty more sewing to be done before the year is out. Plus I have some new ideas for new designs.

Until Next Time
Keep Stitching
Cynthia 


Wednesday, September 23, 2015

Back to Quilting

I have pieced the second Fully Stacked project and it is ready for quilting. So it is time to play with my new quilting rulers. I pieced the backing as I like to do. Is that my favourite Extravaganza fabric?

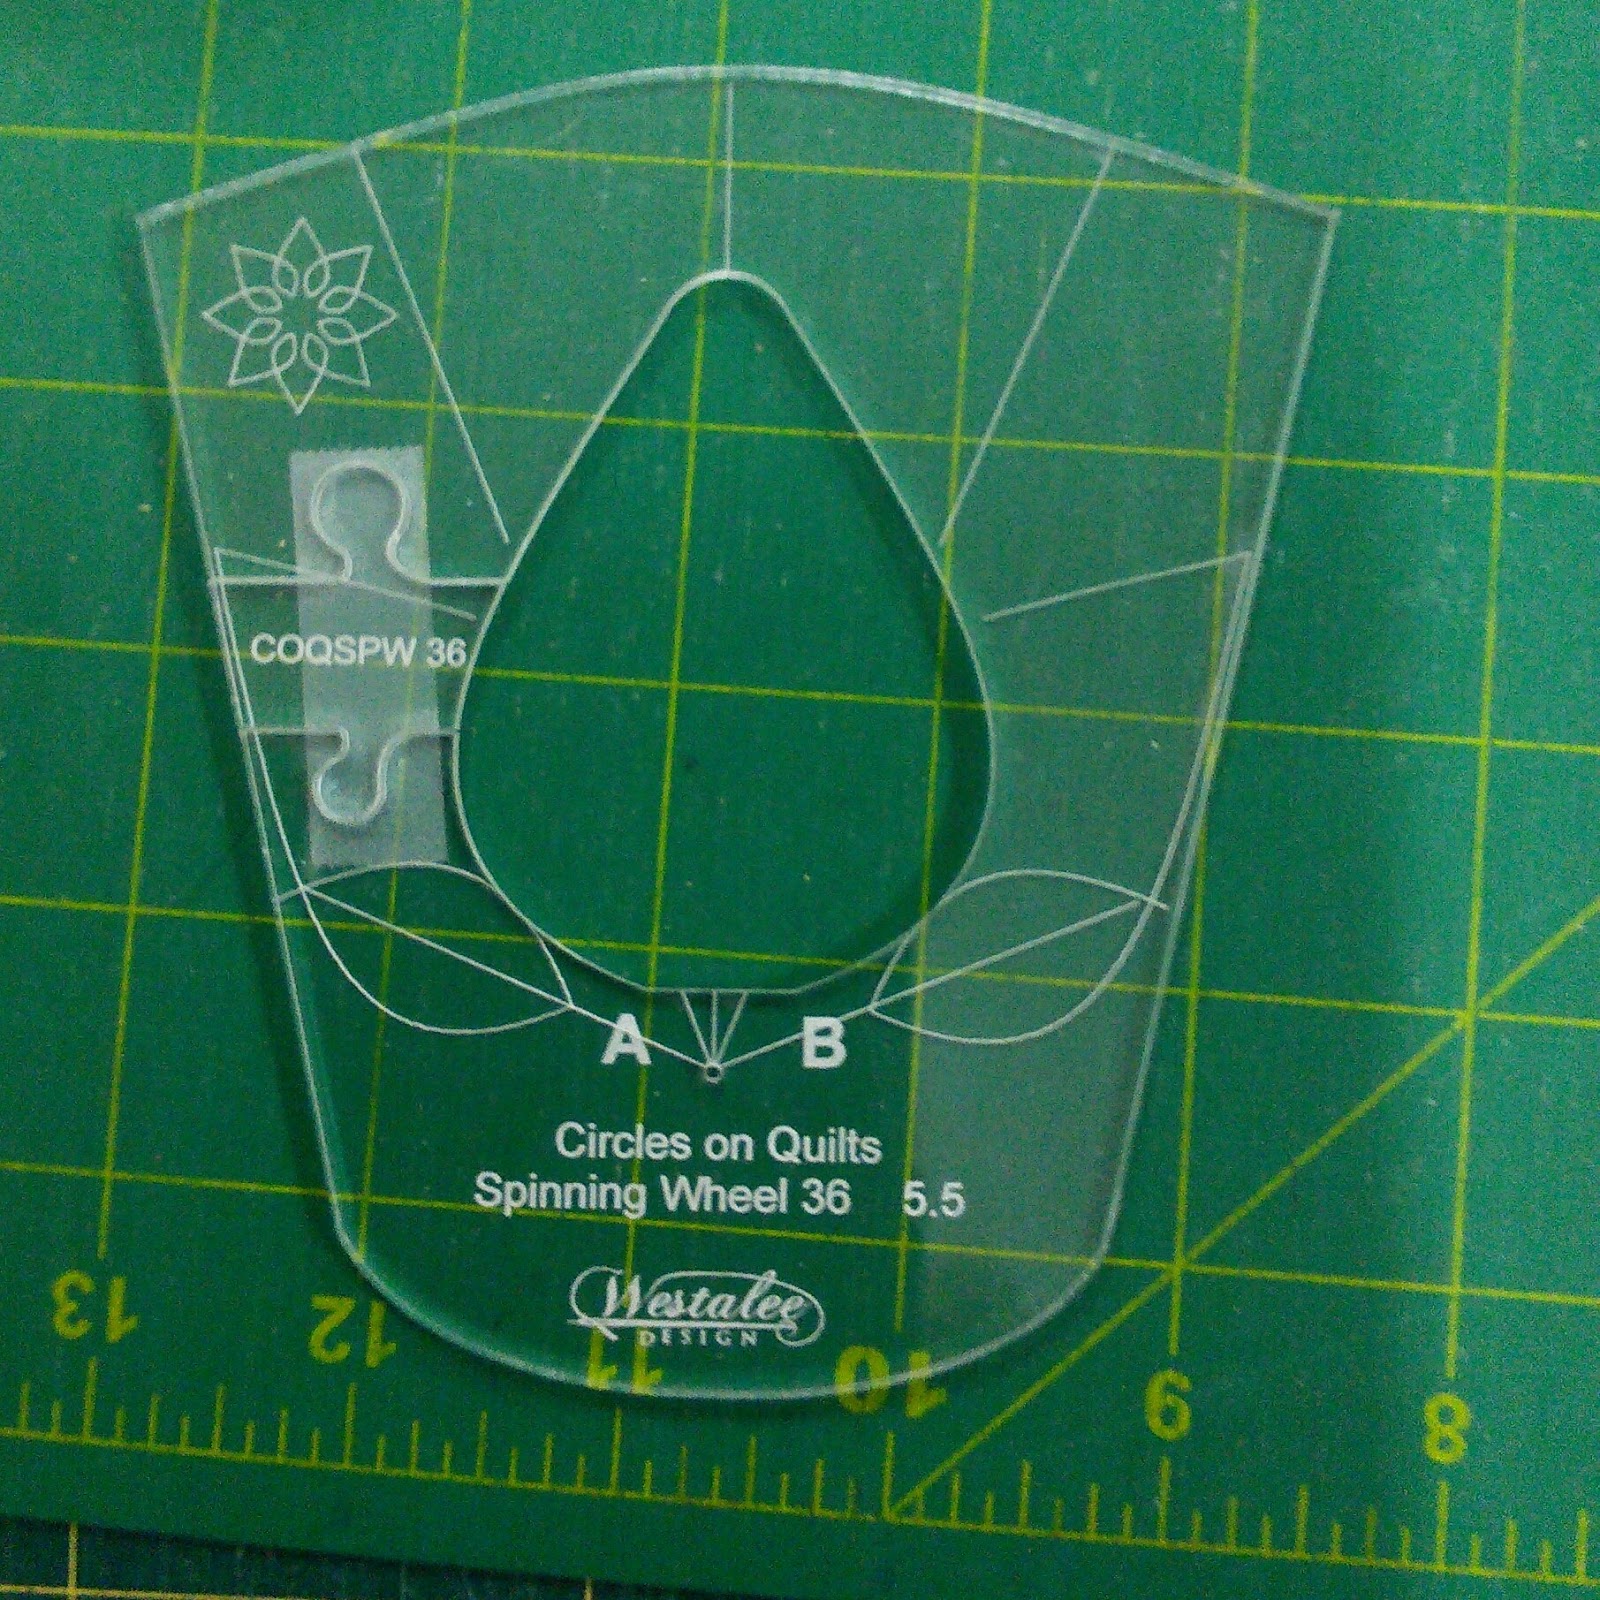
  Pinning it didn't take too long as this project is smaller than Fully Stacked project #1. I also pinned a test sandwich so I can check the measurement of the design I want to quilt. I am testing  Westalee Designs Circles on Quilts Spinning Wheel #36 template ruler I was thinking it is the wrong size but doing a test and seeing what it looks like stitched is the key.

 I was happy with the results. Full steam ahead. Bring on the quilting. I had 18 blocks to quilt and once I worked out a plan of action and not trying to turn the quilt and working in an orderly fashion. I was powering my way through the quilting. It did take me a few hours. Lol

This allowed me to get the binding on the next day ready for the hand sewing which means project #2 is nearly finished and it is time to proofread the pattern and double check the numbers. so there will be 2 new patterns available over the Fully Stacked Weekend and they will be available in print format and in downloadable PDF format. All my new patterns I create will be available in the 2 formats for now on make it easier to purchase. The big reveal is just over a week away. So make sure you pop back to my blog between the 3rd-5th October 2015 to see how these two projects turned out plus there will be more on offer as part of the Fully Stacked Weekend.

Until Next Time
Keep Stitching 
Cynthia

Friday, September 18, 2015

My Farmer's Wife Quilt Update

This one has taken a while to get quilted as I kept chance my mind machine quilting or hand quilting? Followed by the question do it myself or hand it over the the long arm quilter.
I can tell you it was quilted by Valerie from House of Valerie with a beautiful baptise fan all over design.

Which I love. I laid it out on the floor in the shop and it only just fit in the space left. The first thought that crossed my mind was Who the hell was I kidding to consider quilting this myself? I could of had this quilt finished earlier in the year if that thought had crossed my mind earlier. I do like to quilt but looking at all my hand pieced blocks I don't think my quilting skills would of done it justice. Let alone the idea of quilting this monster on my domestic machine. This has to be the largest quilt I have made in my 9 years of quilting. Not a good picture it is just too big to take a picture of it inside and outside has not been suitable to take it out there. I will take it out for a better photo once I finish it to share with everyone.

Now that I have it back and it ready for binding I got caught on a little snag. Where is the binding fabric? Which was followed by Did I buy any binding fabric for this quilt? Oh boy! This quilt is not going to be finished this week.

 Now thinking back I remembered I could only get enough red fabric for the borders and I even made the borders 1/2 inches smaller just to make sure. The sashing fabric is another matter I don't remember if I had planned to use it for the binding or not, either way I don't have enough to use it. I put a call out for help and my friend Maureen who has been stitching her Farmer's Wife quilt along side me has a piece of the sashing fabric in her collection. I'm sure we can do  a trade but it still leaving me 1 x  2 1/2' strip short.

 What I need to know is what would you do?
Option 1 - Go shopping and buy a different fabric to binding it with?
 Option 2 - Should I reduce the width of my strip to 2 1/4' to get the extra strip?
                      or
 Option 3  Use the backing fabric leftovers?
Let me know what you would do to help me out.

Until Next Time
Keep Stitching
Cynthia

Sunday, August 16, 2015

Little Joys Quilt Along #3

It is time to show you my latest finish. I have finished my Little Joys quilt. Fresh and zippy this quilt speak to me of Christmas in Summer. I played with my rulers again and I had a play with the small clamshell ruler, mainly because I was curious how it worked and it was the right size for my little border. You can just see it across the top of the quilt.
I used the stripe from the range to make the binding. Do you think I like stripe bindings or what? Second time this month I have used a stripe but they are my favourite going fabric for binding. If there is a stripe in the range I automatically get extra so I have enough for the binding.

Now I have completed all the binding, it is time to get back to  quilting, 2 more quilts to go. Luckily I left the Pfaff set up for quilting. Tomorrow I will pin my Inklingo star top and prepare a sample sandwich. I want to play with another ruler in the sampler set I got.

Until next time
Keeping Stitching
Cynthia

Monday, August 10, 2015

My Wishes Quilt is Completed.


Yes finally I have another finish to cross off my 2015 list. This quilt was from the Fat Quarter Shop blog. It was their Wishes Block of the Month last year. I was using some of my reproduction stash and  I only brought the meterage of the background fabric for it. Once again Valerie from the House of Valerie has done a wonderful job quilting it for me. I left it to her to select the quilting design and I loved it on sight.

During the week before I picked it up I was kicking myself over the fact I didn't keep all the leftover to make a scrappy matching binding but yesterday I was thinking I was already working from scraps so there wasn't a lot of pieces large enough for binding. I did have 3 fabrics in the stash that were in the quilt, 2 blue and a red. So after asking my LSH (long suffering husband) which one he liked. It was decided the red was the better choice.

Everything was going fine until I reached the last corner and I thought I had run out of bobbin thread but it turn out I was wrong but I was low. Was there enough to finish the binding? How high up did I start on this side? Then I noticed I was almost to the last binding strip. I hope my maths was correct.
I can tell you my maths was correct and I didn't run out of binding but I did run out of bobbin thread this close to the finish. What a bummer. I suppose it is better I run out of bobbin thread than binding. It is easier to slip in a full bobbin then add another strip of binding.
So here she is all finished. Sorry it isn't the best picture I was on a ladder to take this photo and not feeling too secure and it wasn't too bright.

Until Next Time
Keep Stitching
Cynthia
PS Hopefully I will be writing a post on my Farmer's Wife Sampler sooner than later as I have change my mind again and left it with Valerie to quilt for me. I wanted to hand quilt it but realistic I knew it would take me years and I really want to use it. Just not enough time to sew all the projects I want to make.

Saturday, August 8, 2015

Little Joys Quilt Along #2

If you read my Little Joys Quilt Along post from last week, you would know I planned to finish the last block (the Christmas present) on Friday. Guess what! It didn't happen I had all these plans I was going to come home from a local craft store with some extra supplies and sew way into the night. I can say I did start but I didn't get far in and I hit the wall. As I knew I had a big day on Saturday I turn in. There is no point continuing when you are feeling headachy and tired. Some days I have enough trouble with making mistake when I am feeling good, so there is no point when I am feeling poorly.

Any way I did get the last 3 present block completed on Tuesday night so it was time to assemble the top.

I am going to have to plan a quilting day and starting a few of these projects to complete them.

Here is the top altogether without the last border but I can tell you that border is on. I just forgot to take another photo.
Now to baste it for quilting, I am going to use the Christmas tree fabric for the backing. It is my favourite in the range.
Until Next Time
Keep Stitching
Cynthia

Monday, May 25, 2015

Paper Piecing Quilt Along #2

This week we got to sew our first block in the Paper Piecing Quilt Along from Christa's Quilts. I don't have a lot of experience with paper piecing so I was a little unsure how I was going to go with the block. I love the block so I had to try. I discovered it isn't too hard as long as you follow the numbers on the papers and the excellent instructions that came with it.

 I got it completed but I need to do my next blocks a little differently as I wasn't set up well enough as my cutting table was too far away from the sewing machine and the iron was closer but not close enough and going back and forwards all the time will drive me crazy. So when I do the next batch of block I will set up better like Christa's suggested. It isn't a hard technique to learn once I got my head around it. So I am looking forward to explore this technique a little deeper, sooner than later.

I am very happy with my first block so close to perfect that I impressed myself. Lets just say my finished block was just fraction undersized, not enough that I have to redo it. I just need to take a little more care as I make the next blocks. I think when I folded the paper on the over my flat edge it could of been flatter.
It's not too late to join in,  here is the link Christa's Quilts.
Until Next Time
Keep Stitching
Cynthia

Wednesday, May 20, 2015

Paper Pieced Quilt Along # 1

How you seen Christa Watson new quilt along? If not here is the link Christa's Quilts. This quilt along appealed to me from the first post I saw of the block she was working with. Even better when I discovered it is paper pieced. This is a technique I really want to explore. I have done a little bit with paper piecing but not enough. So I made the decision to join this quilt along and expanse my paper piecing knowledge.
These are the fabrics I have selected for this quilt along.

This is the layout that I really liked so that is where I am going. If this is a winner I am thinking matching cushions. I am getting ahead of myself now.

Papers all printed ready to go on the 20th May when we get to sew our first block. I checked the scale after the first one and adjusted my printer setting accordingly but I did keep it for a reference guide and to take down any notes I may need to remember as I piece the block.


So I am now already to start. This is going to be exciting stuff hopefully and I will take a few more steps along my paper piecing journey.
Until Next Time
Keep Stitching.
Cynthia

Tuesday, May 12, 2015

New Series - Under the Pressure Foot #1


Welcome to my new series Under the Pressure Foot. In these posts I am going to share with everyone what I am working on at the sewing machine. It may be a new design, a sample for the shop using one of patterns we stock, learning something new, sewing a pattern that I just want to make or just some scrap busting. You just never know what might be under my pressure foot. So here is what I am working on today.

My Inklingo Star project using Riley Blake Designs To Norway With Love, a Sue Daley range and yes there is a little bit left in the shop if you like what you see.  The shop tab is at the top of my blog. With all the block completed I am up to sewing the blocks into row. Yes I did hand piece the star blocks if you have seen earlier post on this project. This is one of the great things about Inklingo - Hybrid piecing as Linda calls it. Hand piecing and machine piecing in the same project and often in the same block. This time I am only machine piecing the quilt top together. I have set the star blocks with an alternate plain block between them. You can see the fabric at the top of the picture below.
Now the rows are done you can see my layout better. As I sew these rows together I better decide if I am doing borders. I am considering the light pink stripe(the inner star fabric) for a small inner border and binding but not sure if I use the outer star points fabric for the outer border or there is a cream with the same little motif on fabric or may be I will only do one border in the dark pink.
I am amazed I don't twist any of the solid blocks around and ended up with them on the wrong way. 
Yippy all the blocks sewn together.

Until Next Time 
Keep Stitching
Cynthia

Thursday, April 9, 2015

My Sunny Table Runner

My Sunny Table Runner


Materials                                                                                                                  1 Cynthia’s Ark Fab Box or 5 x 2 ½’ strips of coordinating fabrics                           50 x 30 cm fabric for the backing                                                                                  50 x 30cm wadding/batting

   Piecing
Choose 2 strips with some contrast and sew them together lengthways. Press to the darker strip. Cross cut your strip set into 16 x 2 ½’ strips and 4 x 4 ½’ strips.


Arrange the 2 ½’ strip into 4 x four patch blocks (picture above), pin the centres if you need but the pressing of the seam and turning of one strip should interlock the centre. Sew your blocks together.
Arrange your blocks as per picture and sew each row together. Press 1 row seams to the left and the other row to the right. Then sew the 2 rows together.

Select another strip from your box and cut into a 1 ½’ strip and cut 2 x 16 1/2’ strips and 2 x 10’ strips. Sew the long strips on first and press to the border.

Then sew the short borders on and press towards the border. This completes the table runner top.

Quilting                                                                                                                      Lay your backing fabric out (right side down) secure it with clamps or tape, then the batting goes on top followed by your table runner top. Make sure you smooth each layer as you go so you don't have any lumps. Baste with safety pins or for small project you can use baste spray glue and quilt as you like. I stitched in the ditch and through the border right to the edge.

Binding                                                                                                                     To make your binding use the last 2 strip and cut the strips into thirds. Join your 6 binding strips (alternately) end to end with a 45 degree seams, pressing them open. Press the binding strip in half lengthwise with the wrong sides together. (I joined my strips together with a straight seam rather than using the 45 degree mitre join and it made the binding joins really bulky.)

 Stitch the binding to the front of your quilt (folded edge facing in), mitring the corners and join. Trim the backing and batting to ½ inch from your binding stitching line. Fold the binding over the raw edges enclosing them hold in place with binding clips and stitch it in place on the back of your quilt with a matching thread. Finish your quilt with a label.
Finished size: 18 ½ x 10 ½’ (47 x 26 cm  approx.)  
                                                                                                                            Care has been taken to ensure the accuracy of this pattern. However the designer has no control over the choice of materials or procedures used, no responsibility will be taken or results guaranteed.                                                                                    This table runner was designed by Cynthia Woodham for Cynthia’s Ark. This pattern is personal use only, not to be copied in any form unless you have permission from the designer. Copyright © Cynthia’s Ark 2015
                                                       

           All the tutorials can be found in PDF format under the tutorial tab so  you don't have to search the blog down the track.           
This is what a Cynthia's Ark Fab Box looks like. 5 x 2 1/2 inch strips in a cute box. There will be a variety to choose from. This one is My Sunshine Fab Box.
Until Next Time
Keep Stitching
Cynthia